10 Costly Decorating Mistakes and How To Avoid Them
26th Aug 2020Posted by Laura Rich on 26th Aug 2020
Posted by Laura Rich on 26th Aug 2020
I spend a lot of time in our house saying to my children, ‘mistakes are important, that’s how you learn how not to do something.’ But let’s be honest, a child putting their shoes on the wrong feet or putting a cup in the wrong dishwasher tray is not a hinderance on the bank balance! When it comes to spending your hard-earned money on your home, it really helps to get things right the first time around. I have a few tips (from painful and costly experience) I’d like to share with you, so that you can avoid making the same mistakes! Here are my top 10 costly decorating mistakes and how to avoid them.
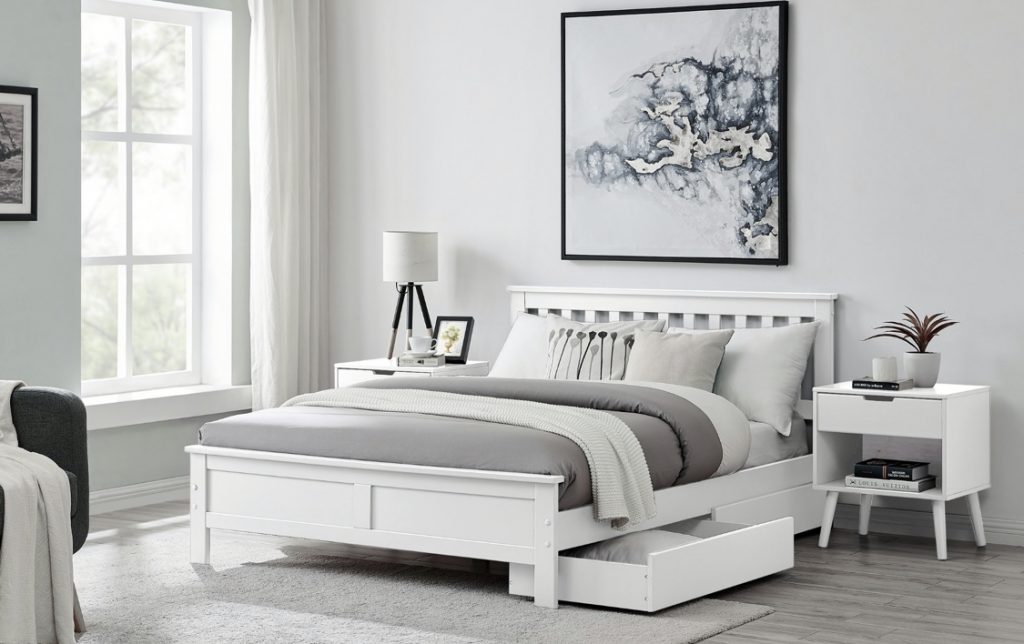
I’ve talked before about having a plan and trying to set a ‘feel’ of a room before starting out. I’m sure you’ve seen images of homes you admire on Instagram or Pinterest and have an idea of the style you like. There are a couple of starting points for your overall plan.
Read my guide on decorating using the 60/30/10 rule for more insight into this.
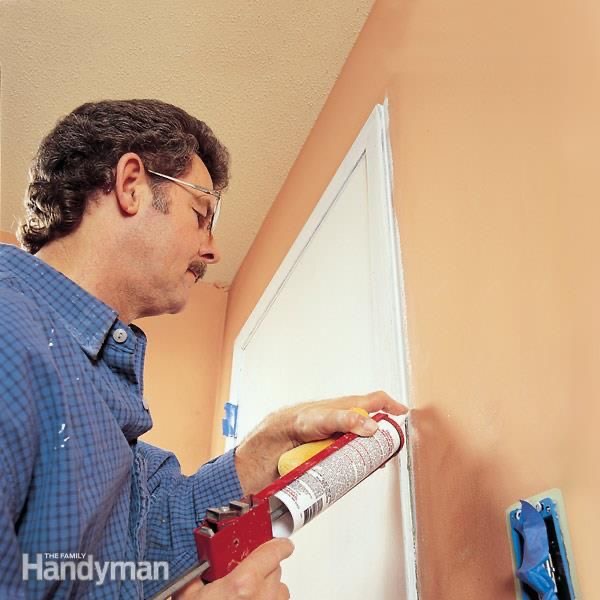
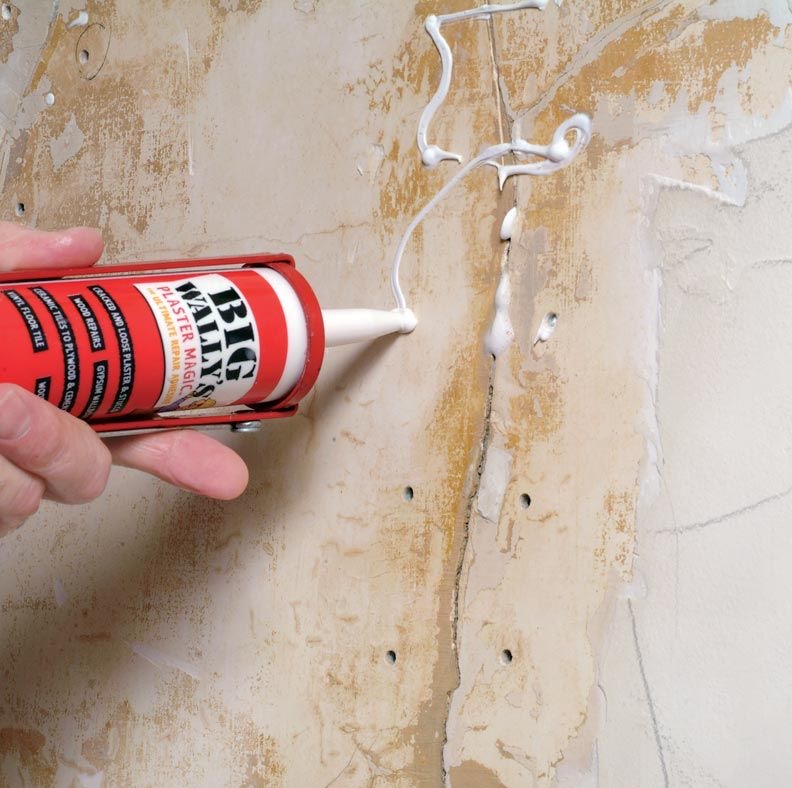
It’s the first rule of decorating right? Don’t brush a single splodge of paint onto a wall that hasn’t first been washed, filled and sanded to be as smooth as a newly plastered wall! It won’t matter how beautiful or expensive the paint colour is; if the wall it’s going on is dotted with holes and cracks then that’s what your eye will see.
Let’s say you’ve spent every penny you own on buying your forever home or renting your first place and you’ve inherited woodchip or Anaglypta wallpaper *ghostfaceemoji*. Think hard before taking the wallpaper stripper to it. Removing woodchip or textured wallpaper can be expensive because it was often used to cover up uneven walls. My own experience of removing 40 year old wallpaper (that had about 80 layers of different coloured paint on it), was that I ended up having to have the whole room replastered. I personally considered this a cost worth investing in but if you’re on a budget there are some really great ways to work the texture into the overall design - just use that as a starting point.
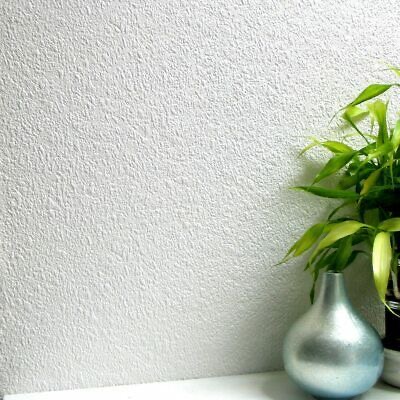
In fact, textured wallpaper has had a bit of a resurgence in popularity of late, so if it’s there to stay you can work with it rather than against it. Think about balance; if you have textured walls then try to balance them out with sheer fabrics and metallic, glass or high gloss items of furniture and accessories..
Try to balance colours too - think 60/30/10 to create a cohesive style that oozes an understanding of design.
Wallpaper is printed in batches and each batch will have its own number (usually printed onto the label of each roll). Different batches can have slight variations in colour - even white wallpaper can come in different shades of white. If you are using wallpaper as part of your overall plan then make sure you buy more than you need. Most manufacturers recommend a standard excess of 10% more than the area you are covering (for trimming and pattern matching), but if you have chosen a large pattern or have a complex room shape (such as a loft room into the eaves) then err on the side of caution and buy more. You can usually return any unopened rolls but if you find yourself short and have to buy more, you might find slight differences in colour unless you can get more rolls from the same batch.
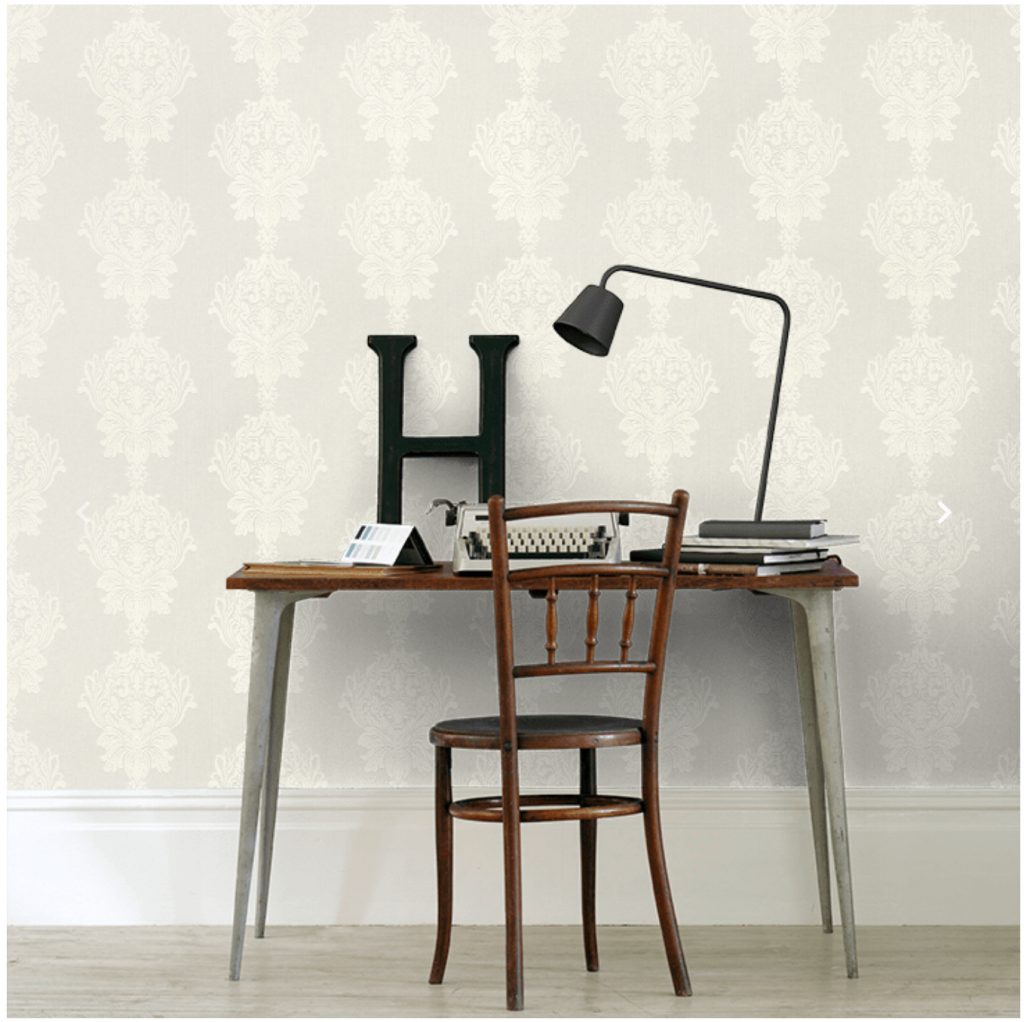
If you’ve gone to the trouble of buying tester pots of paint (or wallpaper swatches), then definitely go the extra mile and make sure you look at the swatches under different lights. Lighting can completely alter the colour of the paint you choose. Natural light is quite blue whereas artificial light comes in all sorts of different bulb temperatures. Some of the trendy bulbs with their filaments on show (in coils or other sculptural forms) are really orange. Pink or orange LED’s will make a lovely warm grey paint look pink, (the hanging pendants I had installed in our kitchen are now purely for aesthetic purposes and nobody is allowed to actually turn them on ?).

There’s a really easy way to do this. Get a cheap roll of masking tape and a tape measure. Use the dimensions of the furniture you’ve seen online or in a store and stick tape on the floor to the maximum size of the piece. If you’re measuring in a dining set, make sure you leave space to pull the chairs in and out too. This way you can get a really good idea of the space left by the furniture which is also really important. Start with the large items; a sofa, dining table, storage, bed etc. You will also be able to see if the item will hide any electric points or get in the way of a door opening fully for example.
You can also reverse this process and tape out the area you want the furniture to fit into - measure that and then shop!
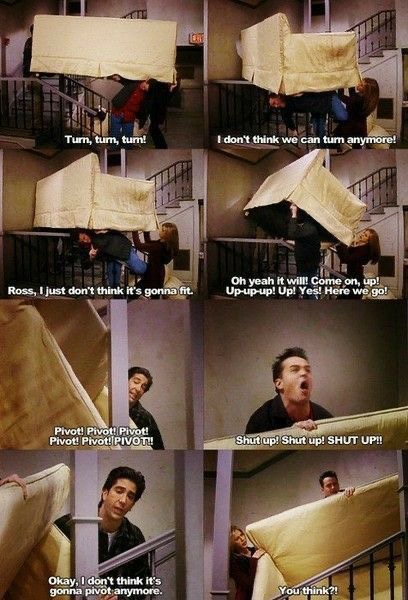
If you’ve never seen the famous scene from Friends where Ross, Rachel and Chandler try to get a sofa up some stairs, simply search, ‘Friends, Pivot’ into YouTube and enjoy!
If you’ve gone to the trouble of making sure that the furniture you like fits in the room, also make sure you can fit it into your house/flat! There is an argument for buying flat pack furniture if you live anywhere that has restricted access. I lived in a tiny cottage a few years ago that had a narrow, staircase (more like a ladder than a staircase) and we had to remove a window to get any furniture in upstairs! ‘Pivot, pivviit, pavit’ was said quite a lot when we were moving in!
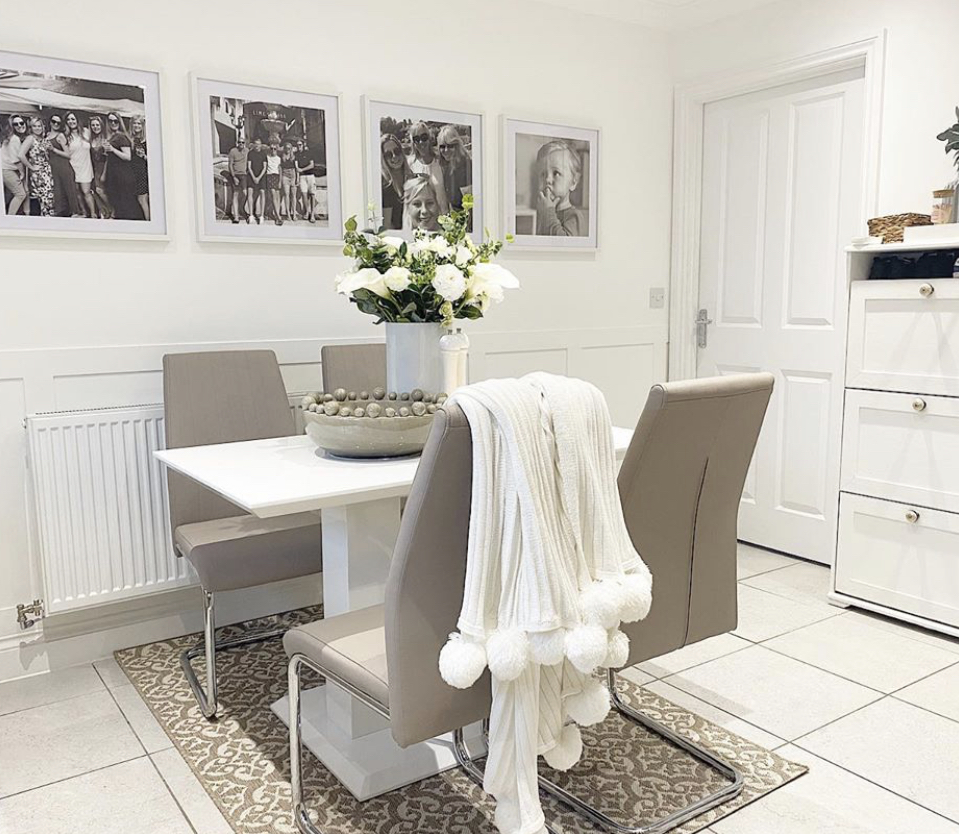
Back to measuring again! Don’t assume that all dining chairs, bar stools or tables are a standard height - they generally are but there are variations. The safest way to ensure the chairs fit with the table is to buy a dining set as the element of surprise is removed.
Pay close attention to the height dimensions if you plan to buy chairs separately to the table - make sure your legs can fit in under the table and that the seat isn’t too low either. Also, make sure that the width of the chairs fit between the legs of the table; even better if you can measure a space for an extra chair for when you have guests.
My top tip if you’re doing a complete refurb is not to order bar stools until the flooring is in so that you can measure from the actual floor not from a plan - even 1cm can make a big difference in height when you’re sat at a breakfast bar.
As part of your overall plan, try to set a time scale to it in terms of how long you expect it to last until you’re decorating again or buying new furniture. If you’ve got young children it might be wise to choose items that can be easily cleaned or cost effective to replace or repair. If you don’t plan to have children or yours are older then investing in really beautiful classic pieces that will last a long time could be a good route for you.
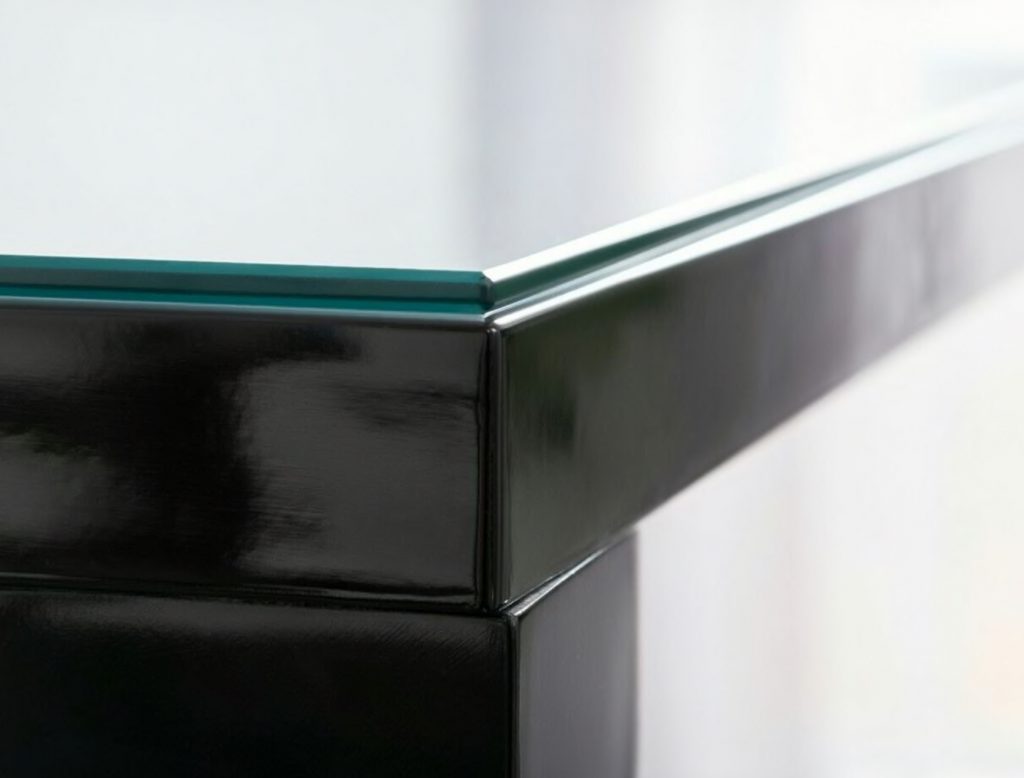
If you want to protect a table top for a few years, consider buying a protective topper to keep it looking as good as new for years to come. You may not need a large sofa or table right now, but might you in 5 years?
As tempting as it is to buy enough to fill a space and get it finished as quickly as possible I would advise against it. My experience is that it takes a little while to work out what you actually need in a room and that only comes from living in it for a while and working out how you use the space. Filling up a room with ‘stuff’ will just make it harder to change it and it will quickly become cluttered.
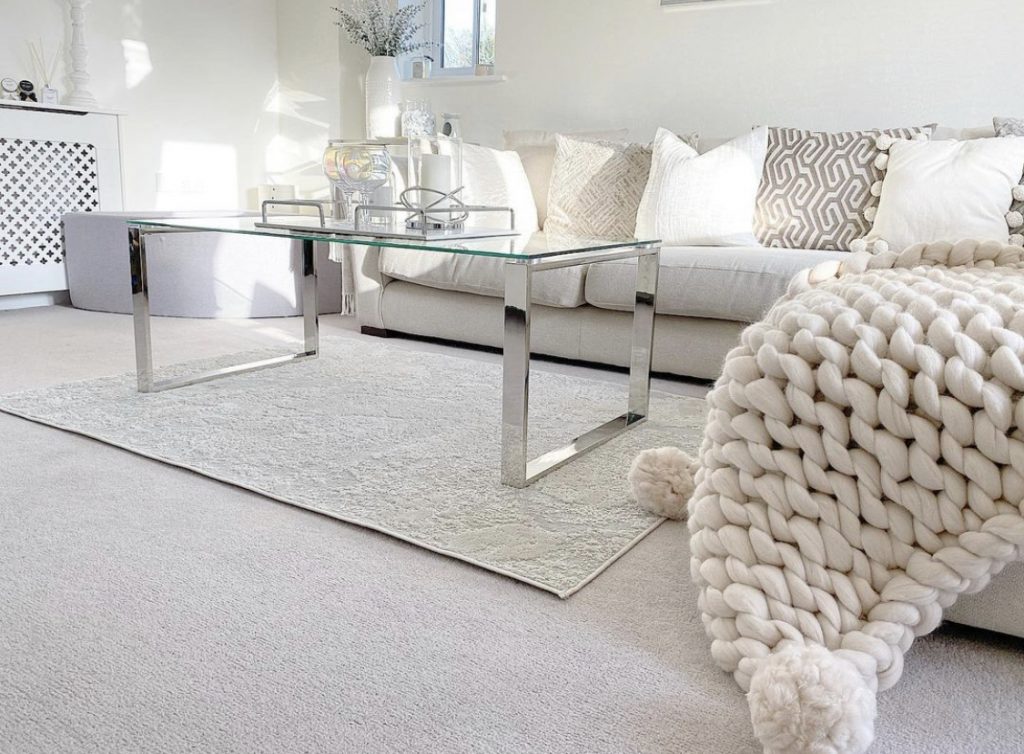
Thinking carefully about the proportions of a room will help you to make an overall plan and stick to it. A small room stuffed full of large furniture will be hard to style, regardless of how beautiful the furniture is. Start with the essential items and gradually add smaller ones as you find a need for them, that way you can shop with a clear goal in mind and a scheme to work towards. Don’t forget to measure a space for each new item!
Once you’ve created your beautiful spaces, don’t forget to share them with us by tagging us on Instagram! @furniturebox_uk