How To Take Insta-Worthy Images And Get Noticed
1st May 2020Posted by Laura Rich on 1st May 2020

Posted by Laura Rich on 1st May 2020
We love seeing and sharing images featuring our products. There’s nothing more satisfying than seeing a beautifully finished space showcasing insta-worthy images of our furniture. We also get several requests a day to collaborate with us (i.e, we send you a discounted or free product in return coverage on your account). With that in mind I have put together a few pointers for taking insta-worthy images and getting noticed by brands like ours.
If you have a DSLR then you’re probably already a bit of a dab-hand at taking photos so this blog will be aimed at those of you who are using a smartphone.
Tip one: use your phone’s camera rather than the image option via the instagram app to take insta-worthy images.
Always use natural light if you can. That means turn the artificial lights off. Even a small amount of natural light will yield better results than any artificial light. Make sure the flash is turned off on your camera.
Filter the natural light for a softer feel. Hang sheer curtains or drape a white sheet over any window that is delivering harsh sunlight. Direct sunlight can cause a glare on your image. Even taping paper to the window will help if you don’t have material to use. This is especially useful for glass or mirrored items.
Experiment with the filters on the edit facility of your phone. If the natural light didn’t quite cut it, try adjusting the brightness and/or contrast. Use the fade tool to lessen the saturation and soften the colour.
Keep filters to a minimum. Instagram has lots of options, maybe choose one or two that you use often, then your images will have a cohesive feel to them.
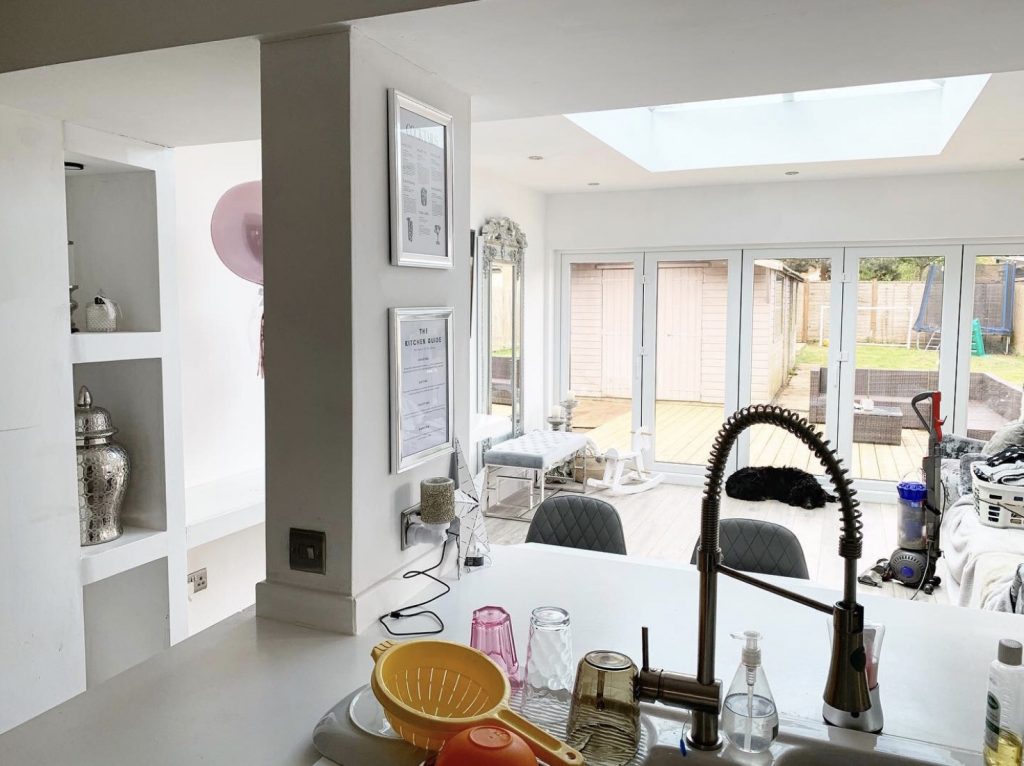
Hide stuff! There’s the obvious stuff to push to one side, like your everyday clutter, papers, magazines, keys, washing up etc but consider hiding things like electrical cords - unplug and tuck behind the furniture. Waste paper bins, move them, they don’t need to be in the picture. Remove extra things from the background and any other furniture in the shot that doesn’t add to the overall image. And if you need to move furniture to get the shot? Do it, it’ll be worth it.
On a similar note, if the best shot of your dining room means setting your tripod up on a chair on the hallway then it’s worth going the extra mile. Experiment; take lots of images and narrow down to the best ones for editing. If you don’t have the time or energy to move stuff then consider some nice close up/detail shots.
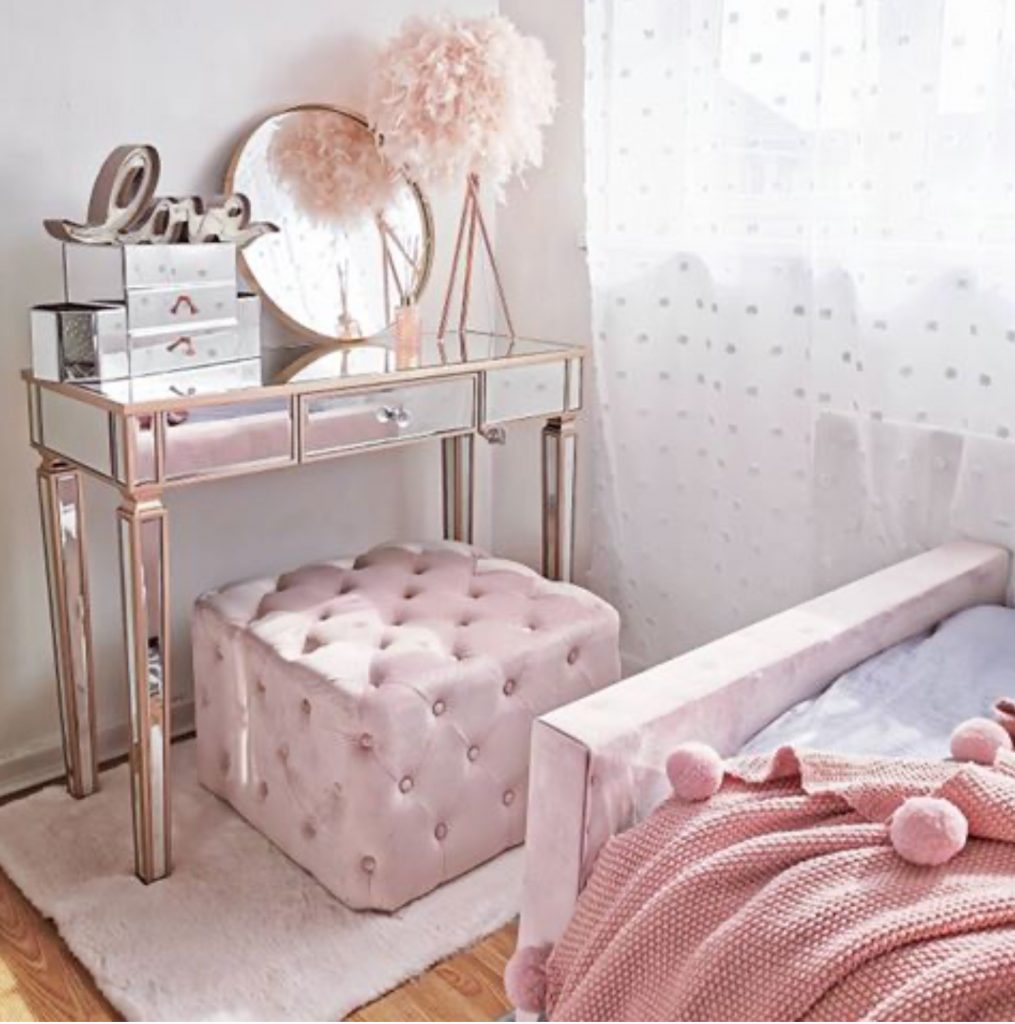
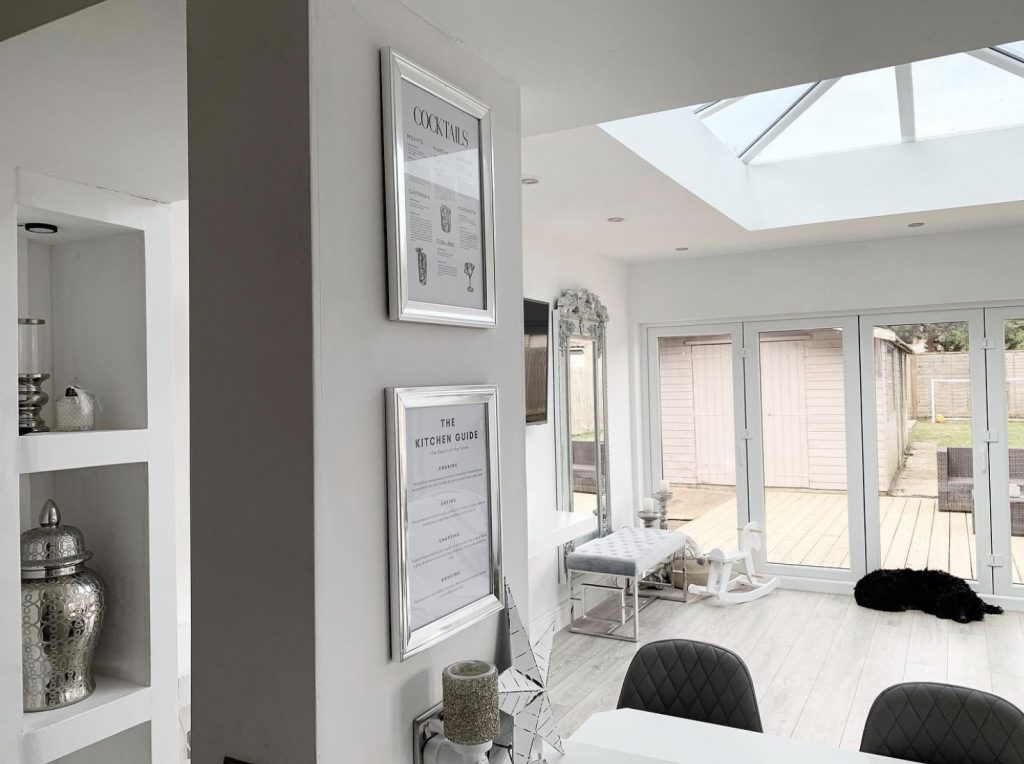
Think about the smaller details. Move the clutter but think about how to dress the room. I’ve written here before about the use of colour. Think about using different textures in your space. A few choice decorative items to draw the eye into the picture and give it a relaxing feel - a faux fur throw draped over the back of a chair for example adds a layer of luxury and texture.
Think about what is in the foreground of the image - does it add to the scene? Does it pull the eye away? If it’s the latter, take it out. You want the focus of the image to be in the middle ground of the shot. Don’t over-do the little details, instagram is a busy place, clean sharp images with a bit of negative space offer somewhere for the eye to rest.
Finally, although it’s not always possible in a smaller space or an unusual shaped room (we all love open plan right?), SQUARE OFF your images. The quality of your image will be markedly better if you try to square up the room, vertically and/or horizontally.
Most smart phones have a grid option within the camera settings (for an iPhone, go into settings, camera, and then grid on) If it’s not possible to square the image at the point of taking it then use the edit settings (the grid in the crop function) on your phone to crop the image as squared up as possible. It’s all about balance folks. Also, think carefully about the angle of your shot, it’s easiest to square your images off if you get level with the furniture, i.e get low down and level to the room just like @homewiththedarlings did for this shot:
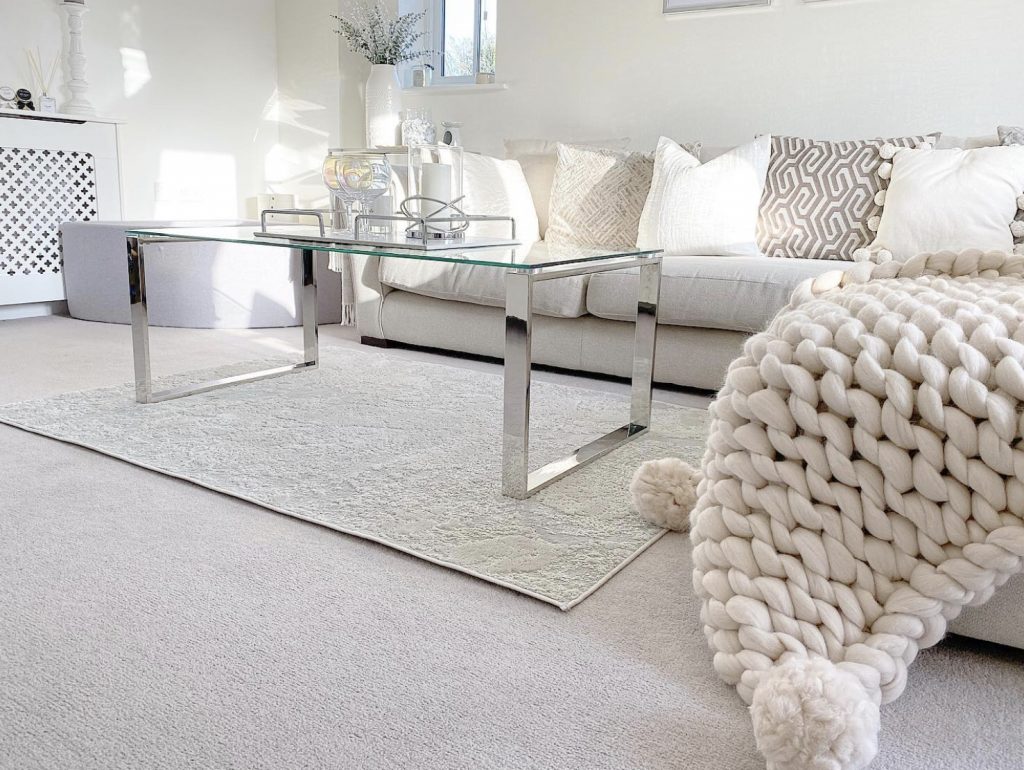
Squaring images doesn’t mean you have to take them all straight on. If you have diagonals in the shot, try to make sure the verticals are straight. In this case, the walls behind and the legs of the coffee table are straight.
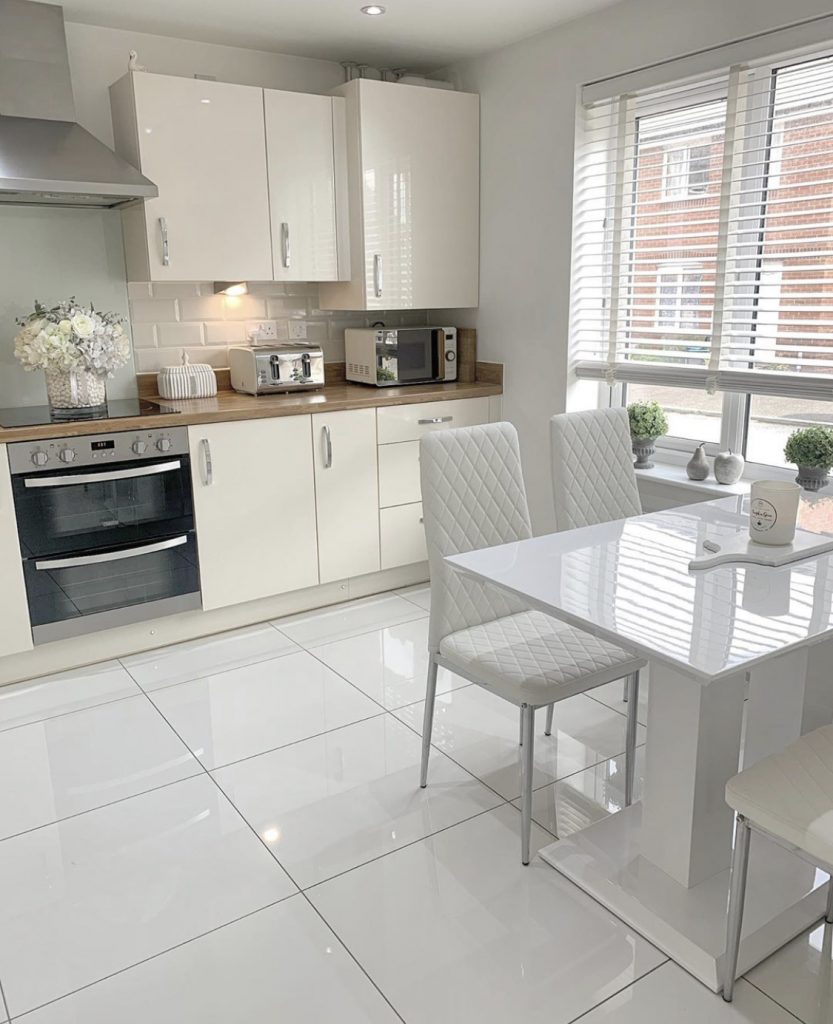
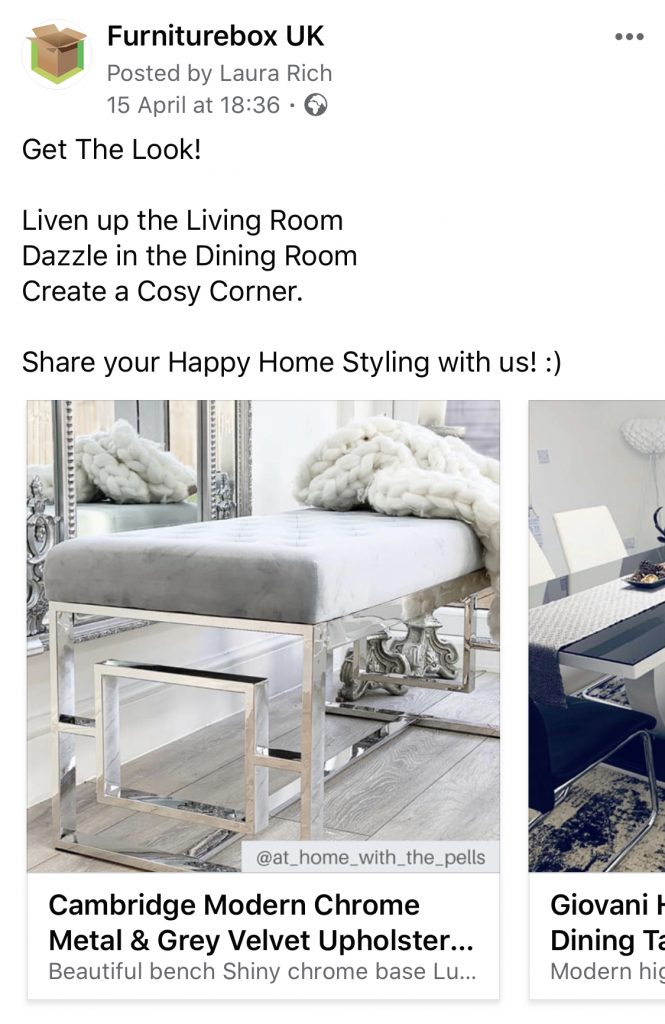
@at_home_with_the_pells is one of our favourite collaborators and she had this top tip on her grid recently:
We are looking for really good images that are light and clear and show our products off. I especially look for images that will work really well in our advertising campaigns on social media. Landscape images don’t work so well for this.
You may think you don’t have enough followers to attract brands. But Instagram algorithms favour engagement over followers. If you have 20k followers and not much engagement then we won’t be interested. If you have 5k followers and massive engagement then we will. We will ask to see your figures, a screenshot of your reach and impressions and we will notice how often you post to your stories and whether you reply to comments on your posts. It’s a big bonus if you have over 10k followers because then you can add swipe ups to your stories directly to our website.
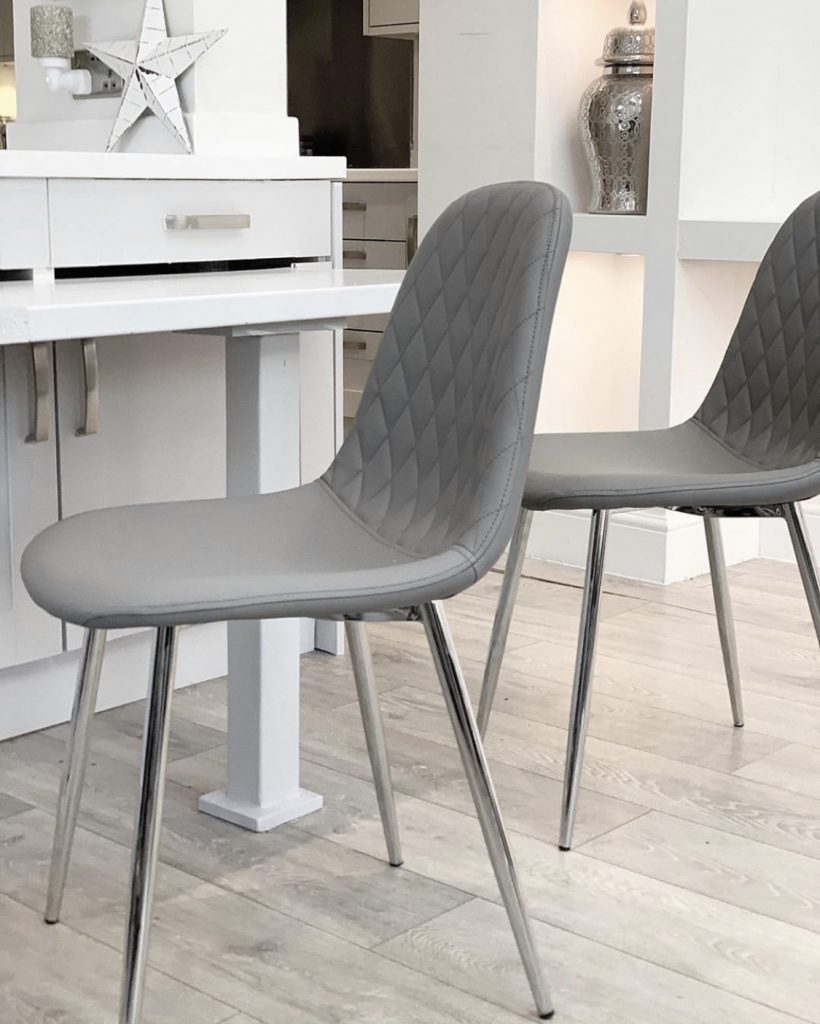
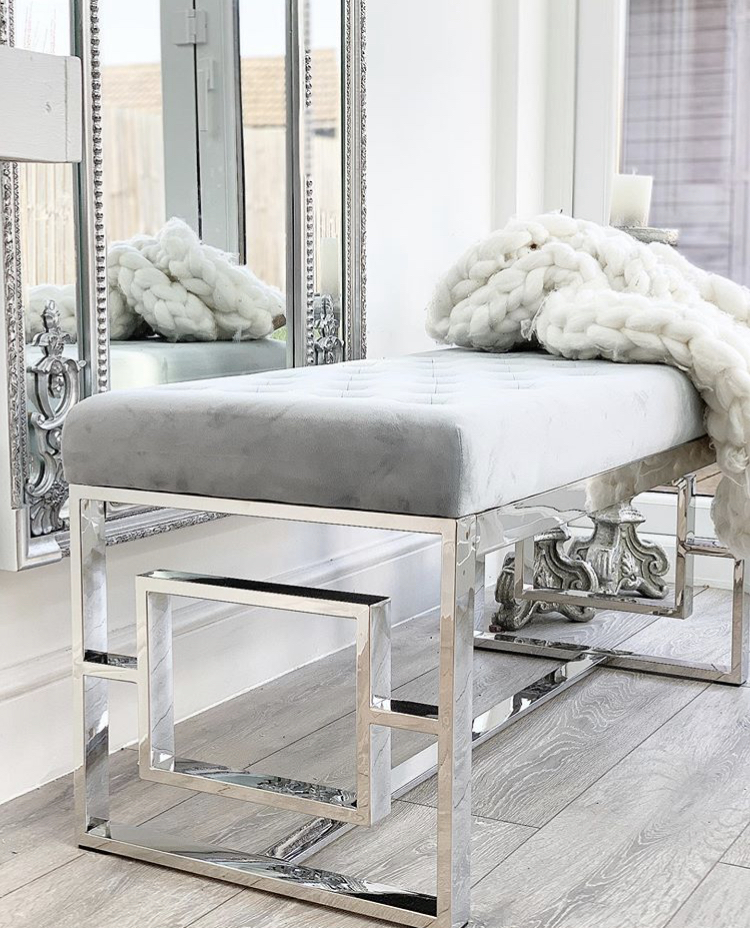
We found @at_home_with_the_pells because she bought some of our chairs and posted awesome insta-worthy images of them, tagging us in the post. We got chatting and hit it off. Her image of our Cambridge Bench is one of our most popular and most used images. It is completely and utterly insta-worthy!